Screen Capturing for Site Monitoring
Posted on Sat 21 April 2018 in Posts
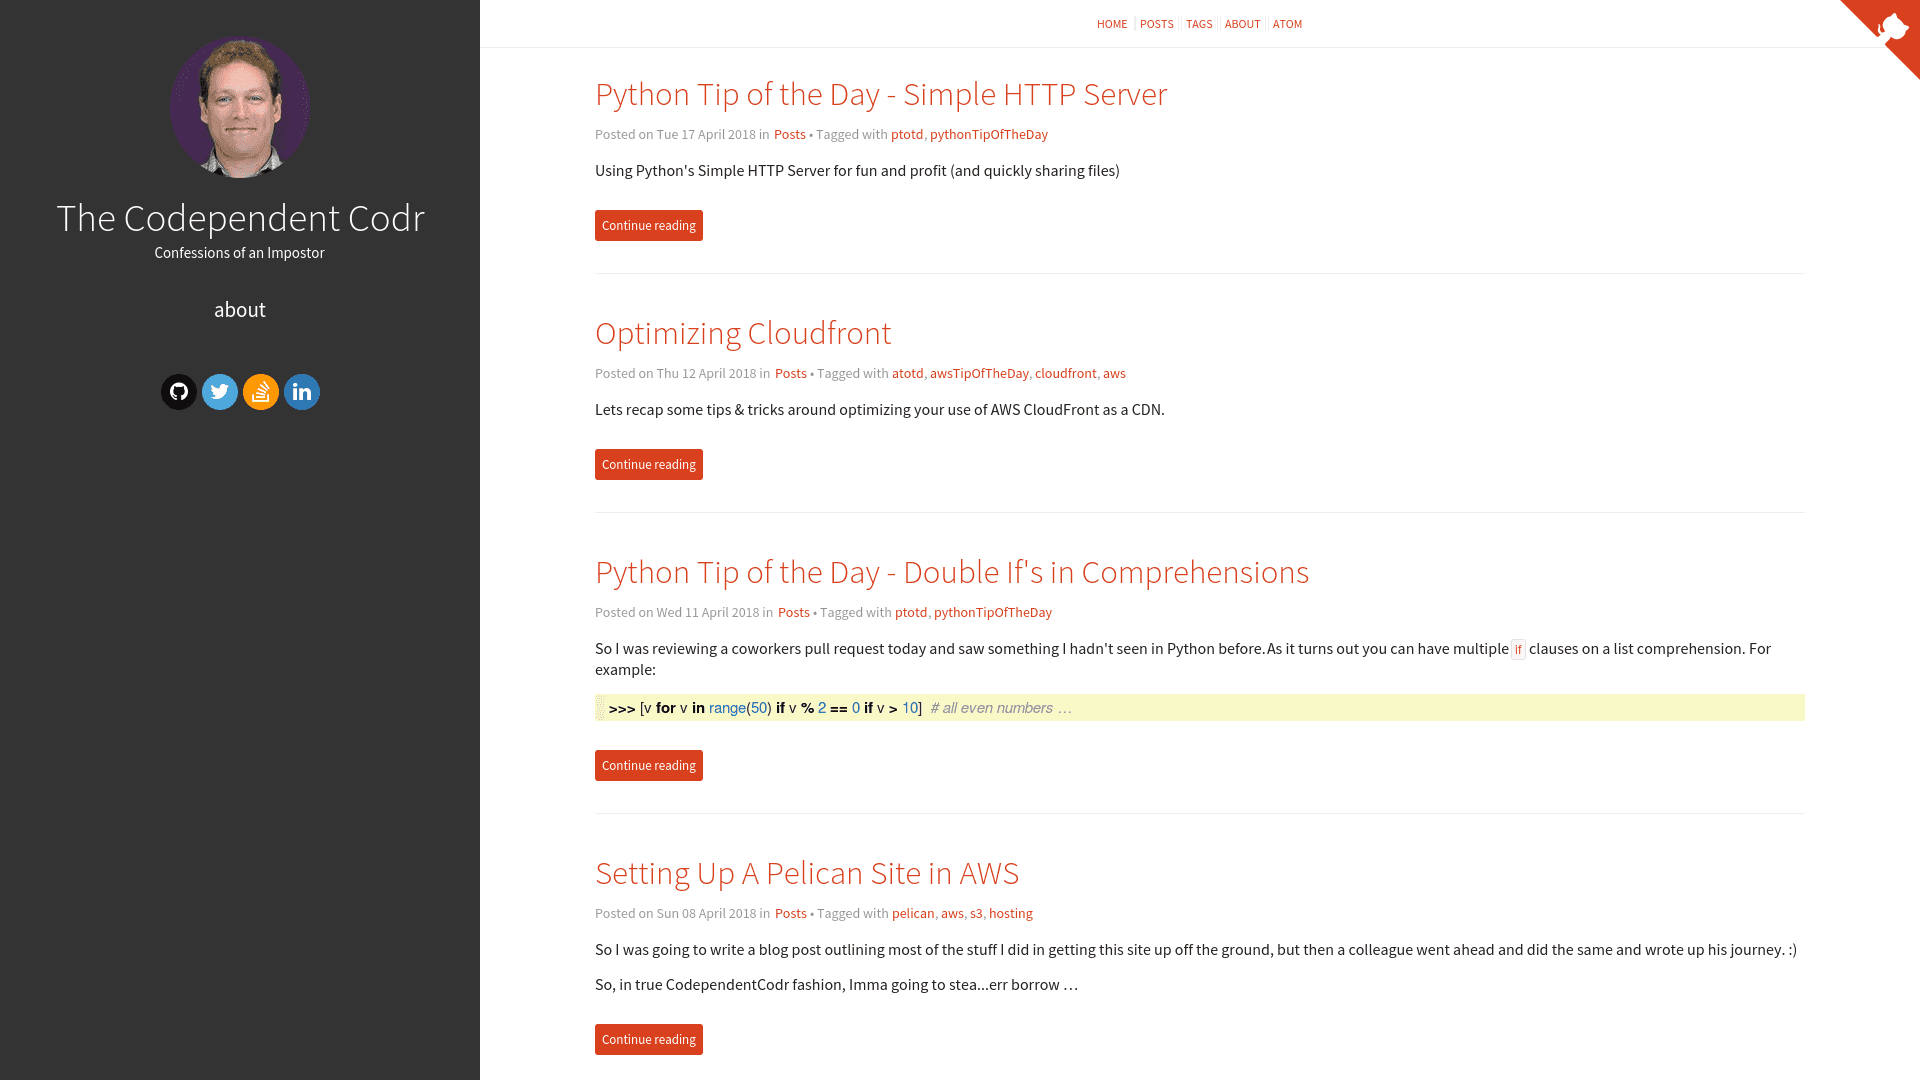
So the other day I used Pingdom's speed test to do some analysis trying to figure out ways to speed up loading of this site. One neat thing about the tool though is it displays a preview image of what your site looks like in typical browsers.
This got me to thinking: I once had a problem with CSS not loading on my site because of some poorly configured HTTP headers on items in S3. I didn't notice the problem for a considerable amount of time though because I had the CSS cached locally so when I went to the site everything was fine. Seeing the preview image though I got to thinking: if you could automate the process of taking a screenshot of a site, and you could find a fuzzy image diffing tool, I wonder if you could build an automated tool for detecting issues like this (or when the HTML gets completely goofed, or some other problems where the site might still return HTTP status 200 but otherwise look broken).
As it turns out, this is totally doable, so I'll walk through what I came up with for this so far.
Step 1 - Down the Rabbit Hole
So, first step: how do you programmatically take a screenshot of a webpage? Doing some googling I stumbled across this page which outlines a couple tools which seem to do this. Let's step through them:
pageres-cli
First up is pageres-cli which is a Node app which can take screenshots. Seemed perfect, so started off by firing up a basic Ubuntu VM to play around on.
Small side note: I'll often do this when I'm trying out completely new/foreign tech -- fire up a
Linux VM using Vagrant as I can do whatever I want on the VM and
when I'm done just nuke the VM without having affected my host machine in any way. In case
interested the basic Vagrantfile I use can be found
in this gist. And yes, I
know I could use Docker instead, I just like Vagrant for this. :p
Anywho, I installed Node in the Ubuntu VM:
curl -sL https://deb.nodesource.com/setup_9.x | sudo -E bash -
sudo apt-get install -y nodejs
Then installed pageres:
sudo npm install -g pageres-cli
And immediately ran into errors I think resulting from the version of Node I installed. Honestly wasn't super interested in trying to debug this, and there were other choices from the article so moved on.
Firefox
I honestly didn't even attempt this. My thinking was I was trying to build an automated tool, so getting Firefox installed didn't seem quite like what I was looking for (and incredibly heavyweight).
cutycapt
Onto cutycapt. This is a nice little command line tool which uses QtWebKit for rendering web pages, and supports a number of options. Seemed like a good fit, so installed it into the VM:
sudo apt-get install cutycapt
Easy enough, let's try capturing a screenshot of a homepage:
cutycapt --url=www.google.com --out=test.png
And was met with an error:
cutycapt: cannot connect to X server
Luckily that same blog post mentioned the use of xvfb for virtual framebuffer goodness. Installed
that:
sudo apt-get install xvfb
And then ran it with the virtual FB:
xvfb-run --server-args="-screen 0, 1024x768x24" cutycapt --url=www.google.com --out=test.png
This produced an image of Google's homepage. Success!
Step 2 - Diffing two Images
This is seemingly the hard part: how do you compare two images and get a similarity score? I had visions of having to dig into machine learning algorithms to try and figure this out, but before breaking out the heavy ML I thought I'd see if someone else had already produced something that met my needs.
Some false leads that didn't quite work ( here, here, here, and here ) and then landed on one that did: image-diffr.
It's a pretty simple tool -- give it two images, and it spits out a similarity score. For example:
image-diffr test_cropped.png test2_cropped.png

✓ Image 1 scanned OK:
  --> Source: /home/vagrant/test_cropped.png
  --> Type: image/png, Width: 1920, Height: 1080
✓ Image 2 scanned OK:
  --> Source: /home/vagrant/test2_cropped.png
  --> Type: image/png, Width: 1920, Height: 1080

Difference (with threshold 0.25):
0.24349247685185185
The idea is the number it spits out at the end is a 0 to 1 probability that the two images are the same (0 being identical, and 1 being completely different). Cool, let's try with two screen caps of the homepage:
vagrant@ubuntu-xenial:~$ image-diffr test1.png test2.png

✓ Image 1 scanned OK:
  --> Source: /home/vagrant/test1.png
  --> Type: image/png, Width: 1920, Height: 1080
✓ Image 2 scanned OK:
  --> Source: /home/vagrant/test2.png
  --> Type: image/png, Width: 1920, Height: 2701
Image heights must match, cannot perform diff.

Image heights must match, cannot perform diff.
Uh-oh, images have to be the exact same dimensions. Screenshots from cutycapt may vary in height
(for example if a new article gets posted, the summary will be a different length which will
cause the height of the screenshot to be slightly different).
So we need to get them to be the same dimensions. Ideally all I care about isn't the entire page but just essentially the viewport of what a user sees when they land on the page. So we could just crop the images to a typical screen resolution (say 1920x1080 for example). But now we need a command-line tool to do this.
Step 2a - ImageMagick to the Rescue
In case you've never seen it before, ImageMagick is a library for doing some amazing image manipulation stuff. And there's a CLI interface for it that's great for automating stuff. The full scope of IM is way beyond the scope of this post (there's a ton you can do with it), but cropping something is easy-peasy so let's get it installed:
sudo apt-get install imagemagick
And now you get a nice little command which can be used to crop an image:
convert some_image.png -crop 1920x1080+0+0 output.png
Dissecting this a bit, this will take the input image some_image.png, and crop it to
1920x1080, starting from the top-left corner (the 0+0 indicates an X,Y offset into the
image). More details can be found at: https://codeyarns.com/2014/11/15/how-to-crop-image-using-imagemagick/
Ok, let's try capturing the homepage in a screenshot & then cropping:
xvfb-run --server-args="-screen 0, 1920x1080x24" cutycapt --url=www.codependentcodr.com --out=capture.png

convert capture.png -crop 1920x1080+0+0 capture.png
This worked, but gave the following image:
Wait, what? Where's the text? And why is the image so small? Looking into the original image before the cropping I found these problems were there. As it turns out, there's two problems:
- the page hasn't fully loaded before
cutycapttakes a screenshot - by default,
cutycaptassumes a screen resolution of 800x600
Both are solvable with options to cutycapt. If we revise:
xvfb-run --server-args="-screen 0, 1920x1080x24" cutycapt --url=www.codependentcodr.com \
  --out=capture.png --delay=3000 --min-width=1920 --min-height=1080

convert capture.png -crop 1920x1080+0+0 capture.png
Basically --delay waits a number of milliseconds before taking the capture (giving the
page a chance to load). I gave it 3 seconds which is probably overkill. --min-width and
--min-height specify a minimum width & height of the screenshot.
With this in place we get:
Ahh, much better.
Step 2b - Parsing Diff Output
With this, we can screenshot with cutycapt, crop with ImageMagick, then diff with
image-diffr. The problem: I want effectively a shell command that returns 0 or 1
to indicate "page is about the same" or "page is totally different". There's a -q
option for image-diffr, which restricts its output to a single line that looks
roughly like Difference: 0.2342422. Ok, that's closer, but I need to extract that
score so I can do a numeric comparison on it. cut to the rescue:
$ image-diffr file1.png file2.png -q | cut -d " " -f2-
0.01935763888888889
Success. Ok, now how do I get that output into a variable and compare it to some "threshold" value that's effectively my similarity cutoff? Initially I brought Python in for this:
$ image-diffr file1.png file2.png -q | cut -d " " -f2- | python3 -c "import sys; x = input(); sys.exit(0 if x < 0.1 else 1)"
Traceback (most recent call last):
  File "<string>", line 1, in <module>
TypeError: unorderable types: str() < float()
Oops, need to convert that x value to a float:
image-diffr file1.png file2.png -q | cut -d " " -f2- | python3 -c "import sys; x = float(input()); sys.exit(0 if x < 0.1 else 1)"
And that did the trick, this exited with error code 0 if the similarity score is less than 0.1
(pretty similar) and a non-zero (well actually 1) error code if the similarity was higher than
0.1.
Step 3 - Putting it Together
Ok, at this point I had all the pieces, then I started gluing them together into a shell script. I found though that little Python snippet I wanted to expand a bit (spit out an error message, etc), but that's hard to do in a single 1-liner of Python. I started breaking it out into a separate Python script, but since I was going to have a shell script anyways, why not just do the work in Bash?
This led me to a first version:
#!/bin/bash
set -e

CAPT_FILE=$(date -u +"%Y-%m-%dT%H-%M-%SZ_%s").png

echo "FILE: $CAPT_FILE"

echo "Capturing screenshot..."
xvfb-run --server-args="-screen 0, 1920x1080x24" cutycapt --url=www.codependentcodr.com --out=$CAPT_FILE --delay=3000 --min-width=1920 --min-height=1080
echo "Done"

echo "Cropping image..."
convert $CAPT_FILE -crop 1920x1080+0+0 $CAPT_FILE
echo "Done"

echo "Diffing with previous..."
SCORE=$(image-diffr $CAPT_FILE prev.png -t 0.25 -q | cut -d " " -f2- )
THRESHOLD=0.1
echo "Score: $SCORE, threshold $THRESHOLD"

if (( $(echo "$SCORE < $THRESHOLD" | bc -l) )); then
    echo "Score good, all is well"
else
    echo "DANGER WILL ROBINSON, DANGER! Sites are different!"
    exit 1
fi
echo "Done"

echo "Copying $CAPT_FILE to prev.png"
cp $CAPT_FILE prev.png
echo "Done"

echo "All done"
What this does:
- creates a screenshot of the homepage into a file named based upon the current date/time
- crops the screenshot to a typical monitor resolution (1920x1080)
- diffs with a file
prev.pngwhich is intended to be the last screencap taken - if roughly the same spits out a message & overwrites
prev.pngwith the new capture - if not, then spits out an error and aborts with non-zero error code
The only real new bit is the elimination of the Python, being replaced with some basic
shell scripting & using bc for the comparison (I got the idea from
this StackOverflow answer)
And there we have it. One could easily imagine how this could be built into some sort of crude monitoring solution where you set up a cron job on a server somewhere to run this every so often, and if the image diffs, then send an alert to Slack, or an email, or whatever.
Maybe I'll continue along that path in a future post, but just doing this was fun. :)